NEWS: We are moving to Blogger
13 JanDo It Yourself Image Transfer/Turn A .49 Dishtowel Into A Fabulous Dishtowel Tutorial
12 JanWhat do you get when you have a .49 Tekla dish towel from Ikea and some transfer paper from Avery?
 +
+

=
Beautiful dish towels!
Step 1: Get your graphic ready. I suggest you search Graphic Fairy, but maybe you have yours ready. Or, if you want, you can Click to download a PDF file of the graphics as I used them.
Step 2: Make sure it is a mirror image! It’s easy, flip the image horizontally when in the transform mode on Photoshop (google search mirror image [insert name of program you are using here] for other programs).
Step 3: Do a test print on a regular sheet of paper.

Step 4: If all is good, put in your transfer paper and print your image onto the clear side of paper.
Step 5: Find a surface to work on and put a couple of pillow cases on it. Make sure it’s not a wooden surface–this project will yellow your wood (sigh…).

Step 6: Iron pillow cases to make sure there are no wrinkles on the side you will be putting your transfer on.
Step 7: Iron the material you will be transfering on for a few minutes.

Step 8: Clip your image and leave a fine border around it. Make sure to round edges.
Step 9: Put your image face down on your material and iron in 20 second passes from left to right and then top to bottom for about three minutes. Play close attention to the corners and edges. Make sure the whole image gets equal attention. How good the transfer comes out depends on how hard you press down and the heat.

Step 10: Take material off the hot surface and let it cool for at least 2 minutes.
Step 11: Peel paper. Don’t let the paper break or tear!

Step 12: Enjoy your work!


FIY – I plan on making some burlap wall art and burlap pillows with these soon. Be on the look out!
Laundry Room Progress
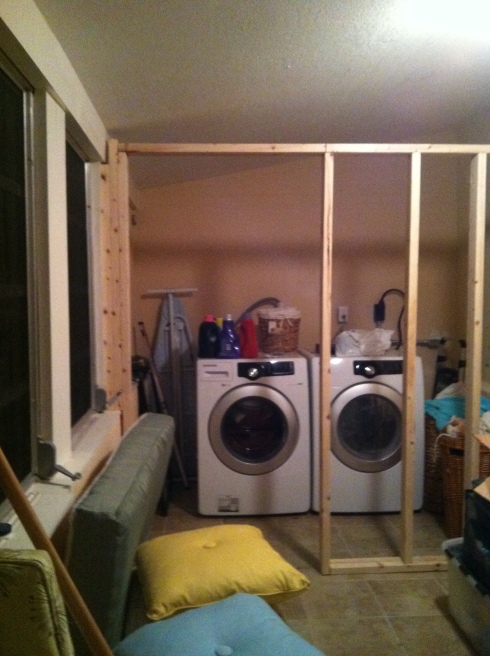
12 JanHere is the progress in the laundry room. So far the plumbing and electrical work has been done and the washer and dryer are now functional. We just started the wall yesterday, so it looks like this.
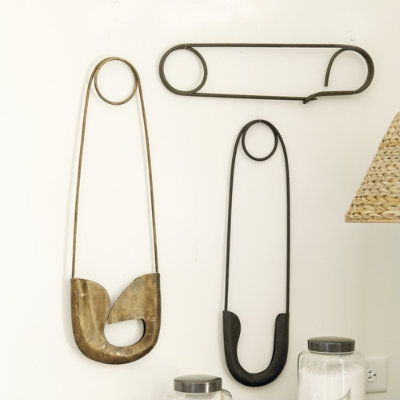
Yes, I know it’s a mess… it’s a work in progress. But you can visualize like I can right? The plan is to build a wooden table on top of the washers and put shelves on top of that along with some DIY wall art and possibly some ballard design safety pins.
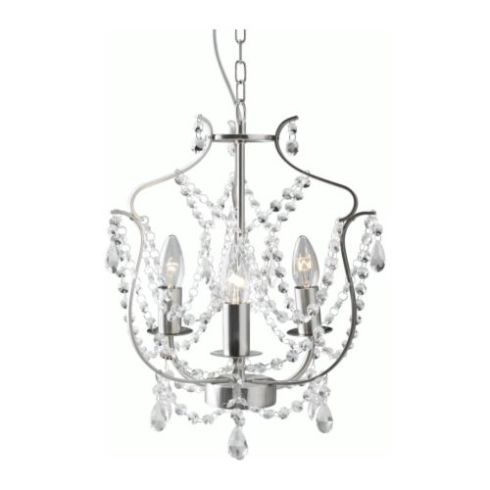
I went over to Ikea yesterday and bought the Kristaller chandelier for a whopping $40.00. Yep, that’s all. I’ve had my eye on this little guy for a while, just didn’t know where he was going to go.
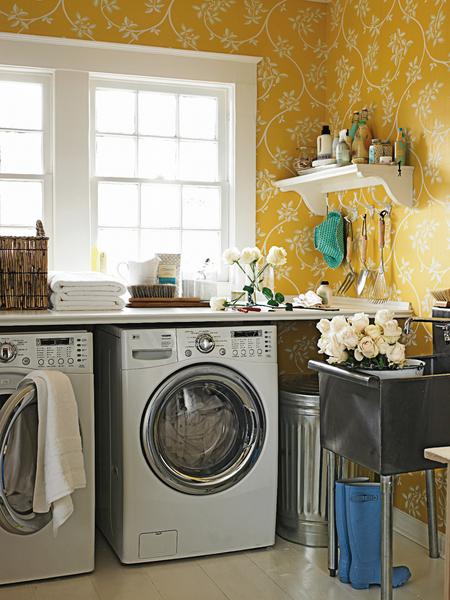
For the wall color I fell in love with this beauty (remember it from the last post?):
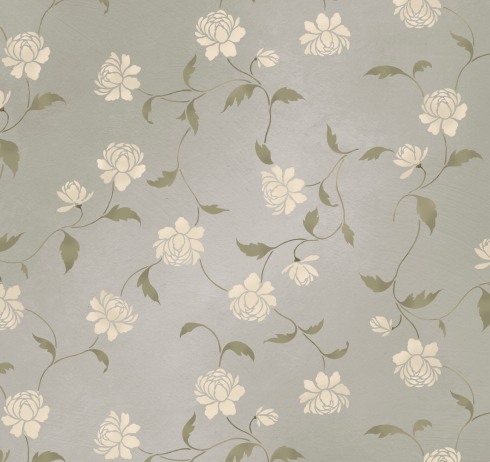
I still haven’t found the right color, but right now I am leaning towards Benjamin Moore’s squash. As far as the print goes, that might be wallpaper, but I found a stencil over at Cutting Edge Stencil (on Etsy) that makes me feel just as happy as the one above does. It is the allover peony pattern:
Nice, huh? I’m so excited! How is your laundry room looking these days?
Laundry Rooms Or Should We Call Them Shame Rooms?
29 DecAn often unnoticed and uncared for room or closet in the house is the laundry room. Most people I know tuck it away from sight and hide it as much as possible. It’s like they don’t want anyone to know they do laundry! Frankly, we spend entire days in this room week after week working hard. Why not make it cheery and motivating? Maybe a bit of decor can make this very needed task a little less dreaded?
Just a thought.
I just got my new front loaders today. What we would like to do is build a closet around them with plenty of storage space. I still deciding whether to paint the inside of the closet in green or yellow, but I know I want it to be pretty and cheery.
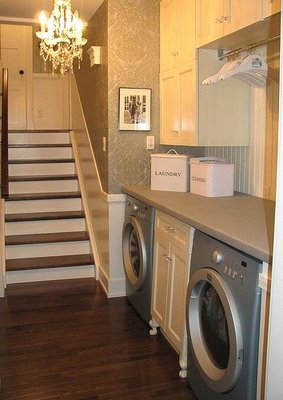
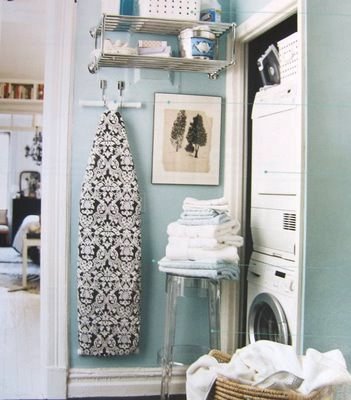
Here are some inspiring laundry rooms.
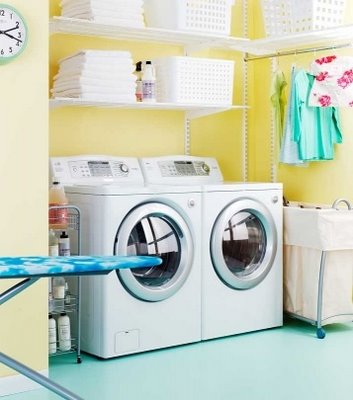
Uknown Source
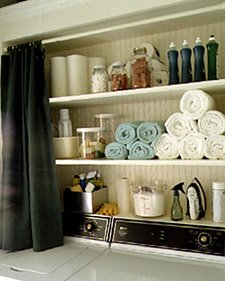
Martha Stewart

Decor Pad

Decor Pad

Decor Pad

Decor Pad

Decor Pad

Decor Pad

Decor Pad

Decor Pad

Decor Pad

Decor Pad

Decor Pad
Guess what I found?
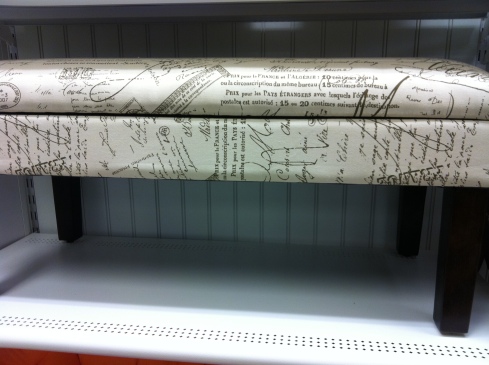
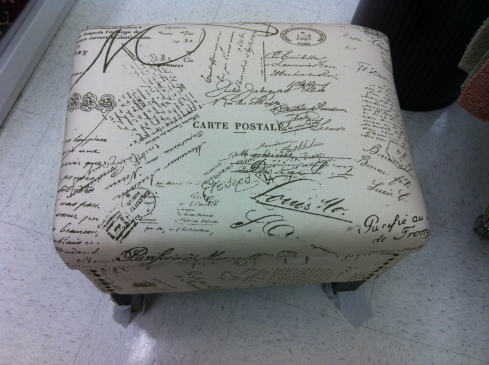
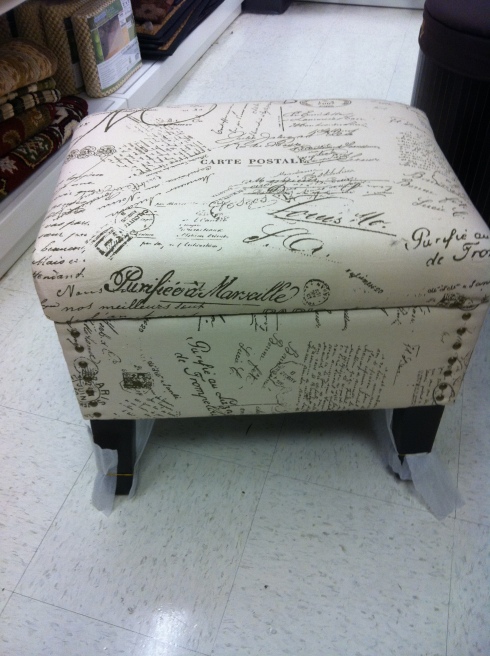
16 DecMarshalls strikes again! At first I wanted the ottomans for under my new console table (for a mere $49.00 each!), but then I realized that the reason I bought the console table was the design on the bottom. The same design that does not permit you to put anything under the console table—Hah! But, I needed these ottomans or at least the bench. I thought long and hard and I have finally decided to go back and get it! It looks like something straight out of Ballard, Horchow or Neiman Marcus. I think it would probably look best behind the bed. And, since I don’t have any decorations nor have I decided where I am going with the bedroom, I might as well just design around it right?
Since I know you are probably staring at the screen in sheer jealousy, I leave you with bench inspiration.
All of the following pictures are from Decor Pad.


I Have Been To Chair Heaven
15 Dec… and its called Overstock. Really, it is. After a big West Elm disappointment, my dreams of two luxurious living room chairs seemed bleak. The West Elm chair I loved so much was not very special in person. Frankly, the fabric quality was nothing special and the chairs were small. Tiny, folks!–like little people chairs. I can see the little people chair in an apartment or even the right house, but for the Mango House it was all wrong.
But, that was until my friends at Overstock came through with options. Not one, but several options. Thank god. Oh, and they are cheaper! Check it out:
The best part of the Manchester Club Chair, you know, besides the gorgeous castered legs, the nail head color, the twill like fabric and the tuffeted back, is its price. At $307.99 how can I say no? That is $615.99 for two instead of the $500.00 for one chair over at West Elm. This is definitely in the near future for the Mango House.
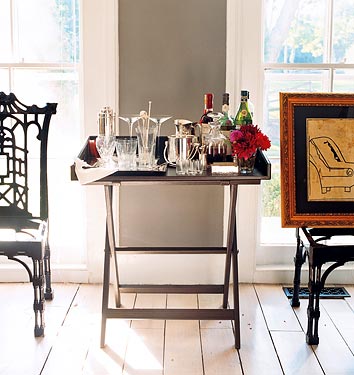
Let’s Talk Bar Carts
8 DecHas it really taken me almost a month to get over this flu thing? Sorry, folks. But, you will be glad to know that I am back and with more material than ever!
Why just this morning I picked up these little beauties. Special props to you if you can guess what they are and what I am doing with them! (Yes, I know its a blurry Iphone picture shot in a moving car).
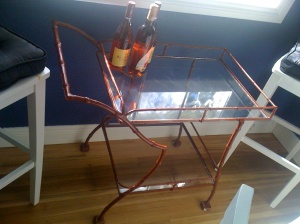
And then of course, there is the matter of the bar cart. This weekend, while I was looking for something else I bumped into this on Craigslist for a mere $20 buckaroons. Yes, you read right–$20! The best part was that it was owned by someone who owns a 1920s barn style house with stain glass windows (super uncommon down here). Adorable!:
Here is a somewhat similar one being sold for $3,600.00 at Mecox:
I can’t remember the first time I saw a faux bamboo bar cart, but ever since I have been on the prowl. Bar carts are that quintecenssial Hollywood Regency item that complete the look I love (a sort of glam Hollywood Regency/vintagesck/nautical look). The cart is painted some sort of brownish red which I am not digging very much, but I’m not sure if I should paint it red, burnt gold or bronze. But, look how pretty red faux bamboo looks against dark navy (in this case a rug)!
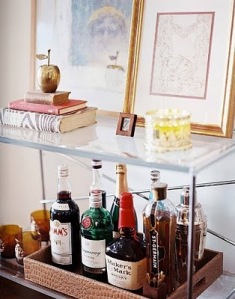
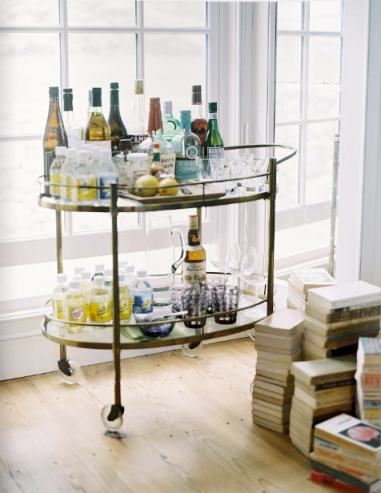
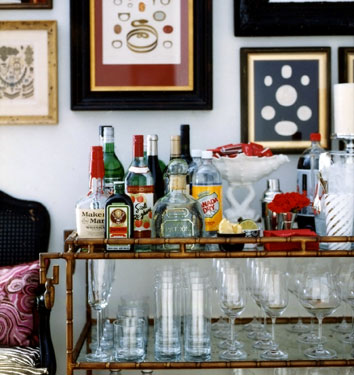
Then there is the matter of styling. How do you style a bar cart? I know mine must have some Grey Goose and whisky along with some sort of Martini shaker. A decanter would be nice too–and Bacardi for a Cuba Libre.
When looking for some inspiration the first thing that came to mind was Eddie Ross, because he really is the master of bar cart styling in my mind. My favorite of his (seen here):
Then there is this beauty found over at Restoration Hardware:
Or these found at Matters of Style:
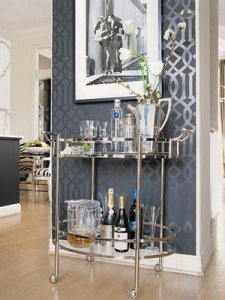
And then there is one hiding in this lovely room by Jan Showers:

And two found over at House of Wentworth:
And I can’t leave out this one from 3432 Martha:
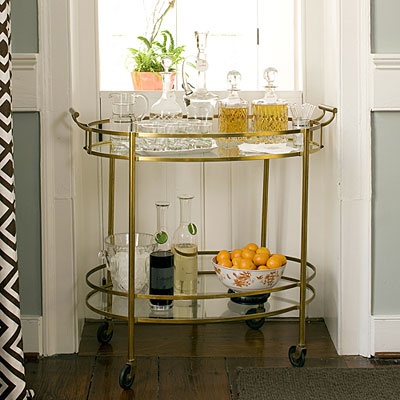
Or this one from Southern Accents:

Do you have a bar cart at home? Send me a picture! I would love to see it! I will also take suggestions as to what color I should paint mine.
Sneak peak
8 NovI have been keeping things from you. I have secretly been working on this:

I got it at Goodwill, but I have been deliberating which room I would put it in for some time. That decision would affect the color and style of makeover it would receive. Eventually it was decided–it’s fate was to join the black, white and red room (Mr. Mango’s office). But, I have not quite finished hanging my crystals yet.
Mr. Mango convinced me to let him paint his room a dark color (I was mortified that it would look completely dark and unstylish). Surprisingly, the more I researched and looked at dark walls the more I liked them. And so they were painted a charcoal grey (compromise from his original request of black). I love them! They are so unexpected in my house and totally swoonworthy. Once I was in love with the wall color I decided to create a London themed room around it. We had been to England the year before and I made sure to take pictures of all the red things in the city white I was there (i.e., busses, telephone booths, guards, post office boxes, stores, etc.) so that I could isolate the red on photoshop and make the rest of the picture black and white. Kind of like this:

I took that picture in New York right accross from the World Trade Center. The only difference is that I would more than likely isolate only the red in the London pictures. So far what I have in the room is just a black armoire, a telescope, some red curtains and some white ikea bookshelves (lot’s of them).
Short term I would like to do this:
-
Finish the pictures and hang them
-
Redo the Billy bookshelves with wallpaper (and get rid of some of them)
-
Finish chandelier
Long term:
-
Put in a daybed (maybe I should custom build one?)
-
Do something different with the curtains
I am starting to think it’s time for a garage sale to get rid of some of the stuff in the house and make room for new stuff.
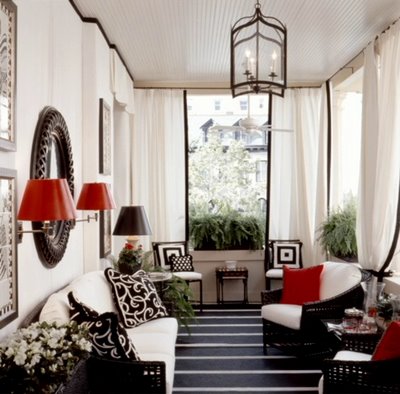
Meanwhile I leave you with some inspiration for this room:

DIY Make Your Own Candle Project!
6 NovYesterday afternoon I noticed Design Sponge had a great feature from Ashley Ann Photography about using old tin cans as candles and thought: I have wanted to do that with my Harrods tin cans! Finally, something to inspire me to get off my chair and over to Michaels for some candle making supplies! The Harrods tin cans I have had for years—YEARS, people! They have literally just been floating around without any real function from apartment, to house and now over to the Mango House. And ever since I wrote an article on the effects of lavender on stress hormones in the body for a newsletter at work I have been completely obsessed with finding a pleasant lavender candle. Really, I have just been obsessed with lavender. Remember the lavender growing in my garden? But, I am extremely picky with how my candles have to smell. At some point in the last two months I started to entertain the idea of making my own lavender candle and so I started to collect jars and different containers for candle makings, but it was not until today that I finally did it! My review: it’s great! So after much ado here is the run down:
Materials:
- Premium Wax (I only had 1 pound on hand)
- Double boiler (or pouring pot and normal pan)
- Thermometer (I think you could do it without this)
- Some form of candle dye (optional)
- Essential lavender oil
- Vanilla scent block (you can also use another essential oil)
- Wicks
- Container for candles
- Wooden skewer or similar object
Instructions:
1. Clean your containers out and dry them. I used these:


2. Melt wax in double boiler. I melted a total of a pound of wax. I used a pouring pot that you can purchase at any crafts store.


3. Some suggest that you should glue gun the wick to the base of the container (I did not do this step because my new glue gun did not work).

4. Continually stir or move pot with wax.
5. Once wax is melted and at approximately 150 degrees Fahrenheit, put in color dye.
6. Once color is fully mixed in pour in scent (note: if you want to see how intense your color is, just pour a drop onto something.)
7. I used 45 drops of essential lavender oil (from Wholefoods) and half of the vanilla scented block.

8. Heat containers in the oven at 150°. I just put mine in there for a bit until it felt hot to the touch.

9. Once the wax is fully mixed in, pour into container. Make sure to save a small amount to pour later.
10. Let sit for about five minutes and insert wick into container.
11. If you need to move the wick use a small wooden skewer or similar object.
12. Hold wick with wooden skewer, chopsticks, measuring spoon or whatever else you have on hand.

13. Leave it alone for 20-30 minutes.
14. Melt the amount that you left in the pot in step 8.
15. You will note that your candle has an indentation in the middle near the wick. Pour in the remaining amount of the wax to fill in the indentation.
16. Cut wick at about ¼ inch.
17. Let dry for 4-6 hours at room temperature (I prefer to leave it overnight).
18. Enjoy!
Things I learned/Things to Note:
- Don’t move the candle until it’s dry. The wax will move with you.
- Gluing the wick with a hot glue gun is probably a good idea.
- Wax does not boil, blacken or smoke up it just explodes if it is too hot, so be careful!
- 1 pound of wax is nothing. I only made those two candles with one pound of wax. Check out the matchbox in the picture below for size comparison

If you make your own, make sure to leave a comment with a link to your new candle!

